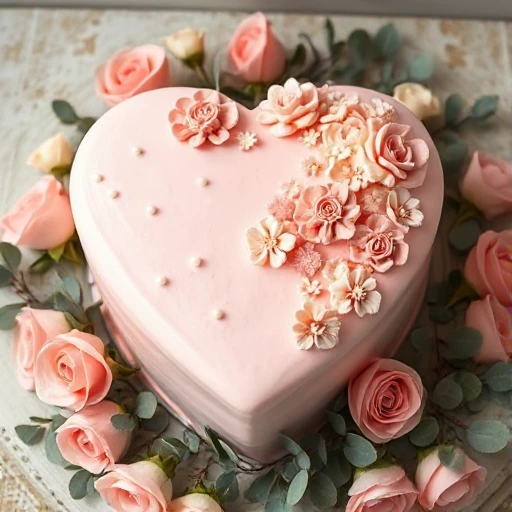
Making a heart shaped cake is a fun way to impress your loved ones. You’ll need the right ingredients and tools to make it. This guide will help you make a stunning cake for any celebration.
Creating a heart shaped cake is simpler than you might think. You’ll need flour, sugar, eggs, and a heart-shaped pan. With these, you can make a cake that looks and tastes amazing.
Introduction to Heart Cakes
Heart cakes are a timeless treat for any special day. They’re a great way to show love and appreciation. In this guide, we’ll teach you how to make a heart shaped cake that’s both tasty and beautiful.
Key Takeaways
- You can make a heart shaped cake using a few simple ingredients and the right baking equipment.
- Heart cakes are perfect for any occasion, including weddings, anniversaries, and Valentine’s Day.
- A heart-shaped pan is essential for making a heart shaped cake.
- You can customize your heart shaped cake with different flavors and decorations.
- Making a heart shaped cake is easier than you think, and with this guide, you’ll be able to create a beautiful and delicious dessert.
- Heart shaped cakes are a great way to show your love and appreciation for someone special.
Essential Tools and Ingredients for Your Heart Shaped Cake
To make a heart cake, you’ll need the right tools and ingredients. A heart-shaped pan, mixers, and measuring cups are key. They help you create a beautiful heart cake design.
Here’s a list of key ingredients you’ll need:
- Flour
- Sugar
- Eggs
- Butter
These ingredients are crucial for making a delicious heart-shaped cake. You can also add optional decorating tools, such as frosting, sprinkles, and piping bags. These help create a unique design for your heart cake.
When it comes to heart cake design, the possibilities are endless. You can choose from various frosting colors and decorations to make your cake stand out. To get started, make sure you have all the necessary tools and ingredients. Then, you can begin to think about your heart cake design.
Remember, practice makes perfect, so don’t be discouraged if your first heart-shaped cake doesn’t turn out exactly as you hoped. With time and practice, you’ll master the art of making a beautiful heart cake.
| Tool/Ingredient | Description |
|---|---|
| Heart-shaped pan | Used to create the heart shape |
| Mixers | Used to mix the cake batter |
| Measuring cups | Used to measure ingredients |
Creating the Perfect Heart Shaped Cake Base
Want to know how to make a heart shaped cake? Start with the right base. The cake’s base is key for its shape and structure. You can use a heart-shaped pan or mix square and round pans for a heart shape.
A heart-shaped pan makes it easy to get a perfect heart cake. But, if you don’t have one, square and round pans can work too.
Using a Specialized Heart Pan Method
Pour your cake batter into a heart-shaped pan and bake it. Make sure to grease the pan well and pour the batter evenly for a perfect cake.
Square and Round Pan Combination Method
This method takes a bit more work but still works well. Pour batter into a square and a round pan, then bake them. Use a knife to shape them into a heart after baking.
Cake Batter Tips for Best Results
For the best cake, use the right batter consistency, flavor, and texture. Try different recipes to find your favorite. Use quality ingredients, avoid overmixing, and bake at the right temperature.
Follow these tips and use the right techniques for a stunning heart-shaped cake. Always use fresh ingredients and enjoy the process. With practice, you’ll master making heart-shaped cakes and know how to do it.
| Cake Type | Pan Shape | Baking Time |
|---|---|---|
| Heart-Shaped Cake | Heart-Shaped Pan | 25-30 minutes |
| Round Cake | Round Pan | 20-25 minutes |
| Square Cake | Square Pan | 25-30 minutes |
Professional Tips for Shaping and Carving Your Cake
To make a perfect heart shaped cake, you must shape and carve it carefully. First, level the cake to make it even and flat. This is key for a smooth surface on your heart shaped cake.
Then, remove extra cake to get a sharp edge. Use a serrated knife to carve the cake into a heart shape. Be patient and take your time to avoid mistakes.
Here are some tips to help you shape and carve your heart shaped cake like a pro:
- Use a serrated knife to carve the cake, as it will help you achieve a smooth edge.
- Carve the cake when it’s completely cool, as this will help prevent it from breaking or crumbling.
- Use a turntable to display your heart shaped cake and make it easier to carve and decorate.
By following these tips, you’ll make a beautiful and tasty heart shaped cake for any event. Remember to be patient and take your time. This will help you get the best results.
With practice and patience, you’ll get better at making heart shaped cakes. Don’t be afraid to try new things and make unique designs.
| Tips for Shaping and Carving | Benefits |
|---|---|
| Level the cake | Ensures a smooth surface |
| Remove excess cake | Creates a crisp edge |
| Carve the cake when cool | Prevents breaking or crumbling |
Decorating Your Heart Shaped Cake Like a Pro
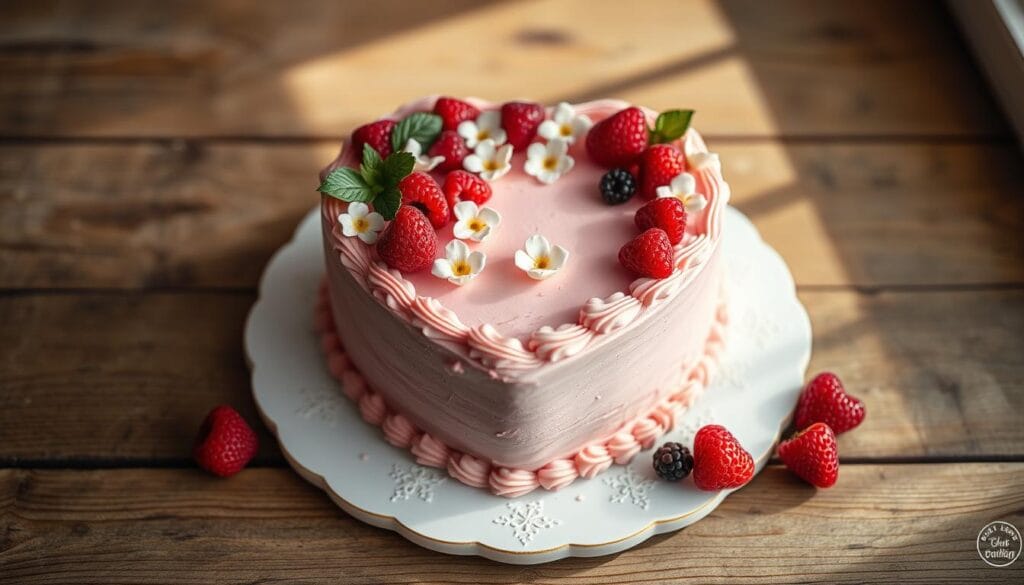
Now that you have your heart-shaped cake base, it’s time to decorate it like a pro. The secret to a stunning heart cake is in the details. Start by spreading a thin layer of buttercream or cream cheese frosting over it.
Next, add creative touches like stripes, polka dots, or flowers. Use different frosting techniques to make your cake stand out. For intricate designs, try using a piping bag with various tips. Some top techniques include:
- Buttercream frosting: perfect for smooth, creamy textures and bright colors
- Cream cheese frosting: adds a tangy flavor and rich texture
- Whipped cream frosting: great for light, airy textures and delicate designs
After adding your design, finish with sprinkles, edible glitter, or fresh fruit. With these tips, you’ll create a heart-shaped cake that will wow everyone.
Conclusion: Mastering Your Heart Cake Creation
Creating a stunning heart-shaped cake is easier than you think. Just remember a few key steps. First, use a heart pan or mix square and round pans for the base. Then, shape and carve the cake with care.
Finally, add your own special touches to decorate it. By following these tips, you’ll make a cake that will wow everyone. Don’t be shy to try new things and make it your own. So, put on your apron and start making a heart cake that will be the star of your next celebration.
Looking for more inspiration for your next baking project? Check our amazing cakes recipes to take your cake creations to the next level
FAQ
What is the best way to create a heart-shaped cake?
You can make a heart-shaped cake in a few ways. The easiest method is using a heart-shaped baking pan. Or, you can mix a square and round pan to get the heart shape. The important thing is to prepare the batter well and bake it right to keep its shape.
What tools and ingredients do I need to make a heart-shaped cake?
To bake a heart-shaped cake, you’ll need some basic tools. These include a heart-shaped pan, a mixer, and measuring cups and spoons. For the ingredients, you’ll need flour, sugar, eggs, butter, and other cake basics. Don’t forget decorating tools like frosting and sprinkles to finish it off.
How do I ensure my heart-shaped cake turns out perfectly?
For a perfect heart-shaped cake, focus on the batter, baking time, and temperature. Follow the recipe closely and handle the cake gently when taking it out of the pan. Level and carve the cake to get a sharp heart shape before decorating.
What are some creative ways to decorate a heart-shaped cake?
Decorating a heart-shaped cake can be fun and creative. Try different frosting styles like swirls or stripes for a professional look. Add sprinkles, glitter, fruit, or chocolate shavings to make it stand out.
Can I use a standard round or square cake pan to make a heart-shaped cake?
Yes, you can use a round or square pan to make a heart-shaped cake. Just bake the cake, then use a serrated knife to shape it into a heart. This method takes more effort but works if you don’t have a heart-shaped pan.
How to Make a Heart Shaped Cake: Step-by-Step Guide
Description
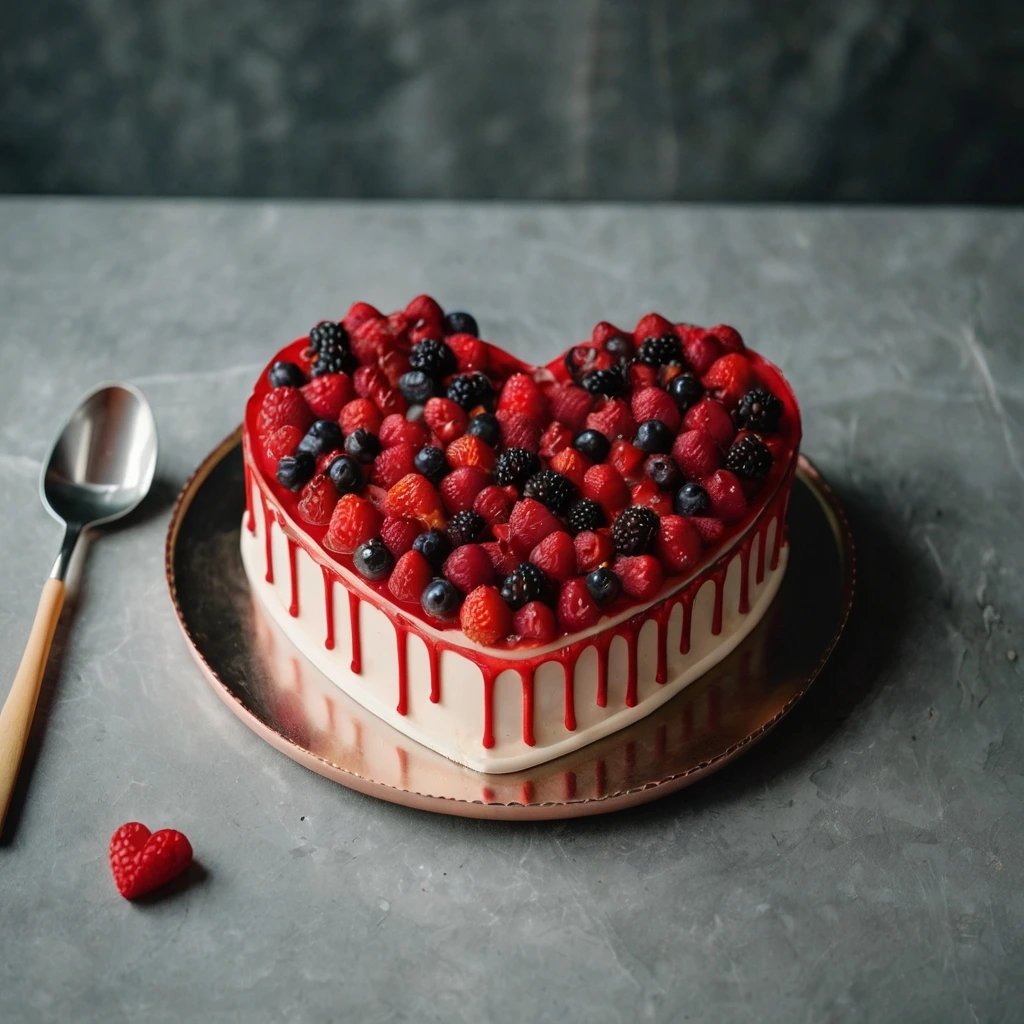
Creating a heart-shaped cake decorated with fresh berries and a smooth white frosting with a vibrant red drip design is a perfect way to celebrate special occasions like Valentine’s Day, anniversaries, or birthdays. This delightful dessert is not only visually stunning but also irresistibly delicious. Let’s dive into a detailed recipe that will guide you step-by-step to craft this masterpiece.
Ingredients
For the Cake Base:
For the Smooth White Frosting:
For the Red Drip Design:
For the Fresh Berry Topping:
Step-by-Step Instructions
Step 1: Prepare the Heart-Shaped Cake Pans
- Preheat your oven to 350°F (175°C).
- Grease and flour two heart-shaped cake pans or line them with parchment paper. If you don’t have heart-shaped pans, you can cut a heart shape from a round cake after baking.
Step 2: Make the Cake Batter
- In a large mixing bowl, cream the softened butter and granulated sugar until light and fluffy (about 2–3 minutes).
- Add the eggs one at a time, beating well after each addition.
- Mix in the vanilla extract.
- In a separate bowl, whisk together the flour, baking powder, baking soda, and salt.
- Gradually add the dry ingredients to the wet mixture, alternating with buttermilk. Begin and end with the dry ingredients. Mix until just combined—avoid overmixing.
Step 3: Bake the Cakes
- Divide the batter evenly between the prepared pans. Smooth the tops with a spatula.
- Bake for 25–30 minutes or until a toothpick inserted in the center comes out clean.
- Allow the cakes to cool in the pans for 10 minutes, then transfer them to a wire rack to cool completely.
Step 4: Prepare the Smooth White Frosting
- In a large bowl, beat the softened butter until creamy and smooth.
- Gradually add the powdered sugar, one cup at a time, mixing on low speed.
- Add the heavy cream, vanilla extract, and a pinch of salt. Beat on high speed for 2–3 minutes until the frosting is fluffy and spreadable.
Step 5: Assemble the Cake
- Place one cake layer on a serving plate. Spread a generous layer of frosting on top.
- Place the second cake layer on top, ensuring it aligns evenly.
- Frost the entire cake with the remaining white frosting, smoothing it with an offset spatula for a polished look.
Step 6: Create the Red Drip Design
- Melt the white chocolate chips with heavy cream in a microwave-safe bowl. Heat in 15-second intervals, stirring after each until smooth.
- Add red gel food coloring a little at a time until you achieve the desired shade.
- Using a spoon or piping bag, carefully drizzle the red chocolate along the edges of the cake, allowing it to drip down the sides.
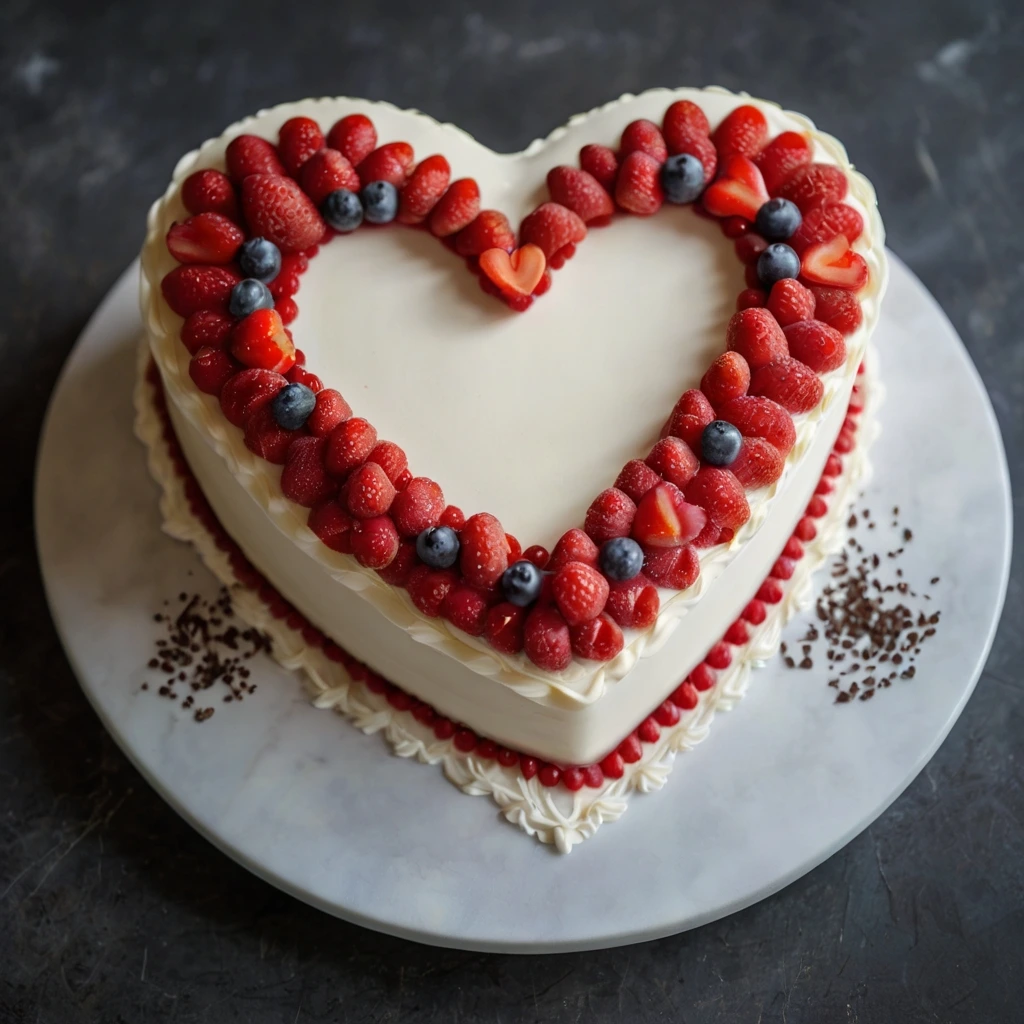
Step 7: Decorate with Fresh Berries
- Arrange the raspberries, blackberries, and blueberries on top of the cake in a visually appealing design.
- Optionally, add a few mint leaves for a pop of green and a refreshing touch.
Nutrition Facts
Servings 10
- Amount Per Serving
- Calories 320kcal
- % Daily Value *
- Total Fat 14g22%
- Saturated Fat 8g40%
- Cholesterol 70mg24%
- Sodium 120mg5%
- Total Carbohydrate 45g15%
- Dietary Fiber 2g8%
- Sugars 30g
- Protein 4g8%
* Percent Daily Values are based on a 2,000 calorie diet. Your daily value may be higher or lower depending on your calorie needs.
Note
Tips for Success
- Use room-temperature ingredients for a smooth batter and frosting.
- If the red drip is too thick, add a tiny amount of heavy cream to thin it out.
- To enhance the flavor, brush the cake layers with a simple syrup made of equal parts sugar and water.
- Chill the frosted cake for 15–20 minutes before applying the red drip for a cleaner finish.